
Hasura Next.js Boilerplate is a boilerplate for building applications using Hasura and Next.js. This boilerplate consists of the following:
Table of Contents
Overview
This boilerplate is built using the following technologies:
It supports GraphQL Query, Mutation and Subscription out of the box.
Requirements
Packages
- Frontend: Next.js application
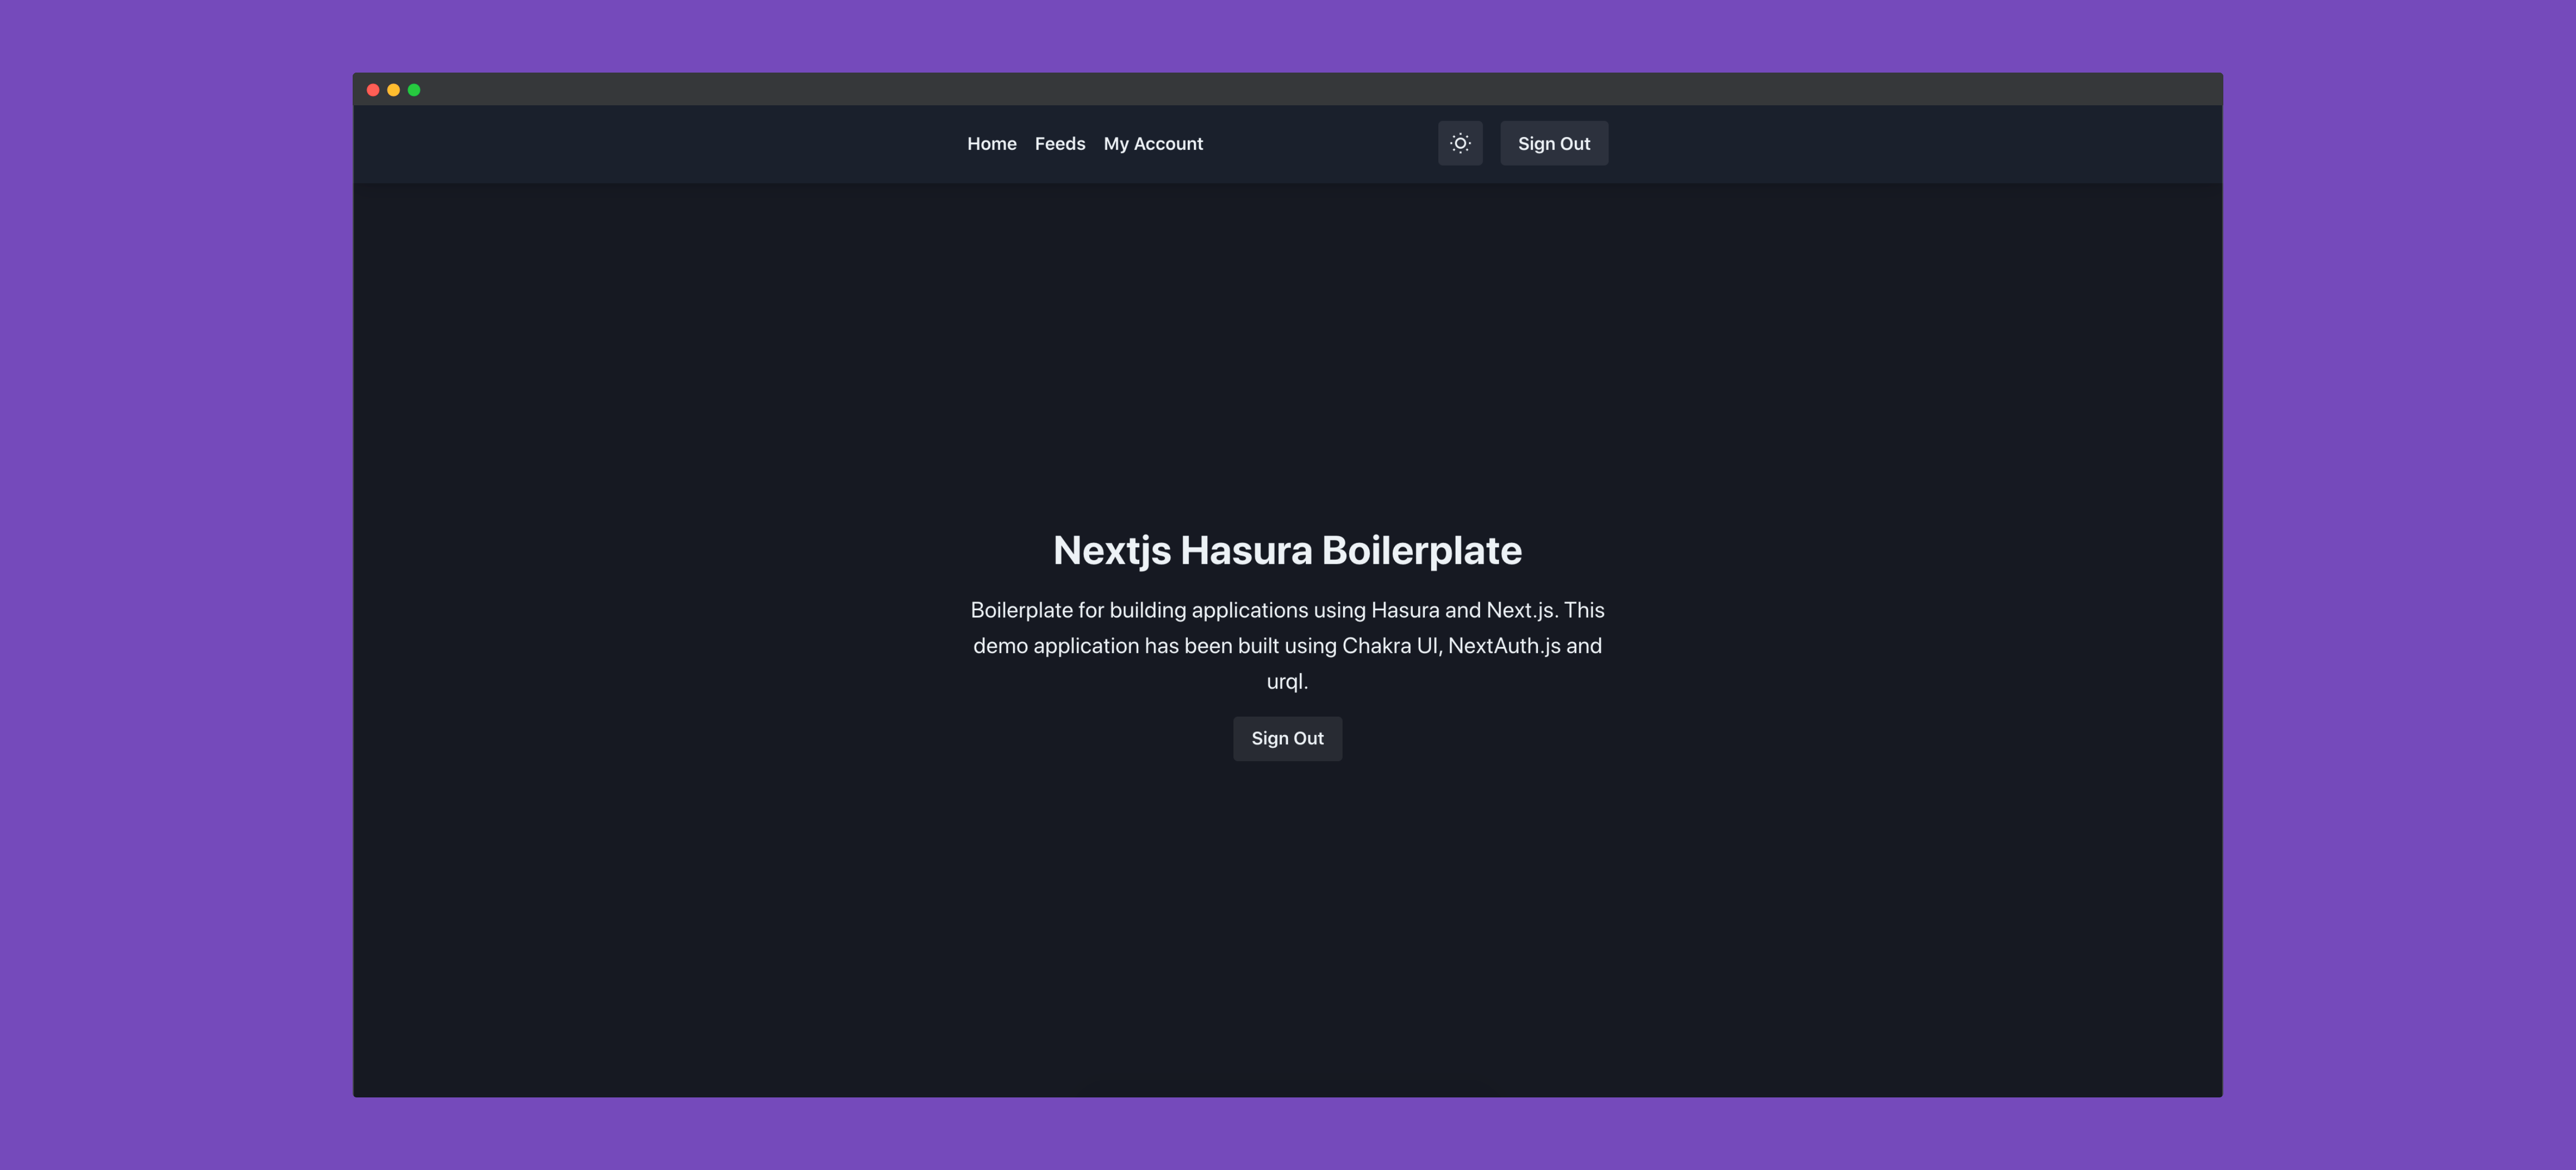
This application is the primary user-facing application. Once it’s up and running (see Development section), it’s available on http://localhost:3000/.
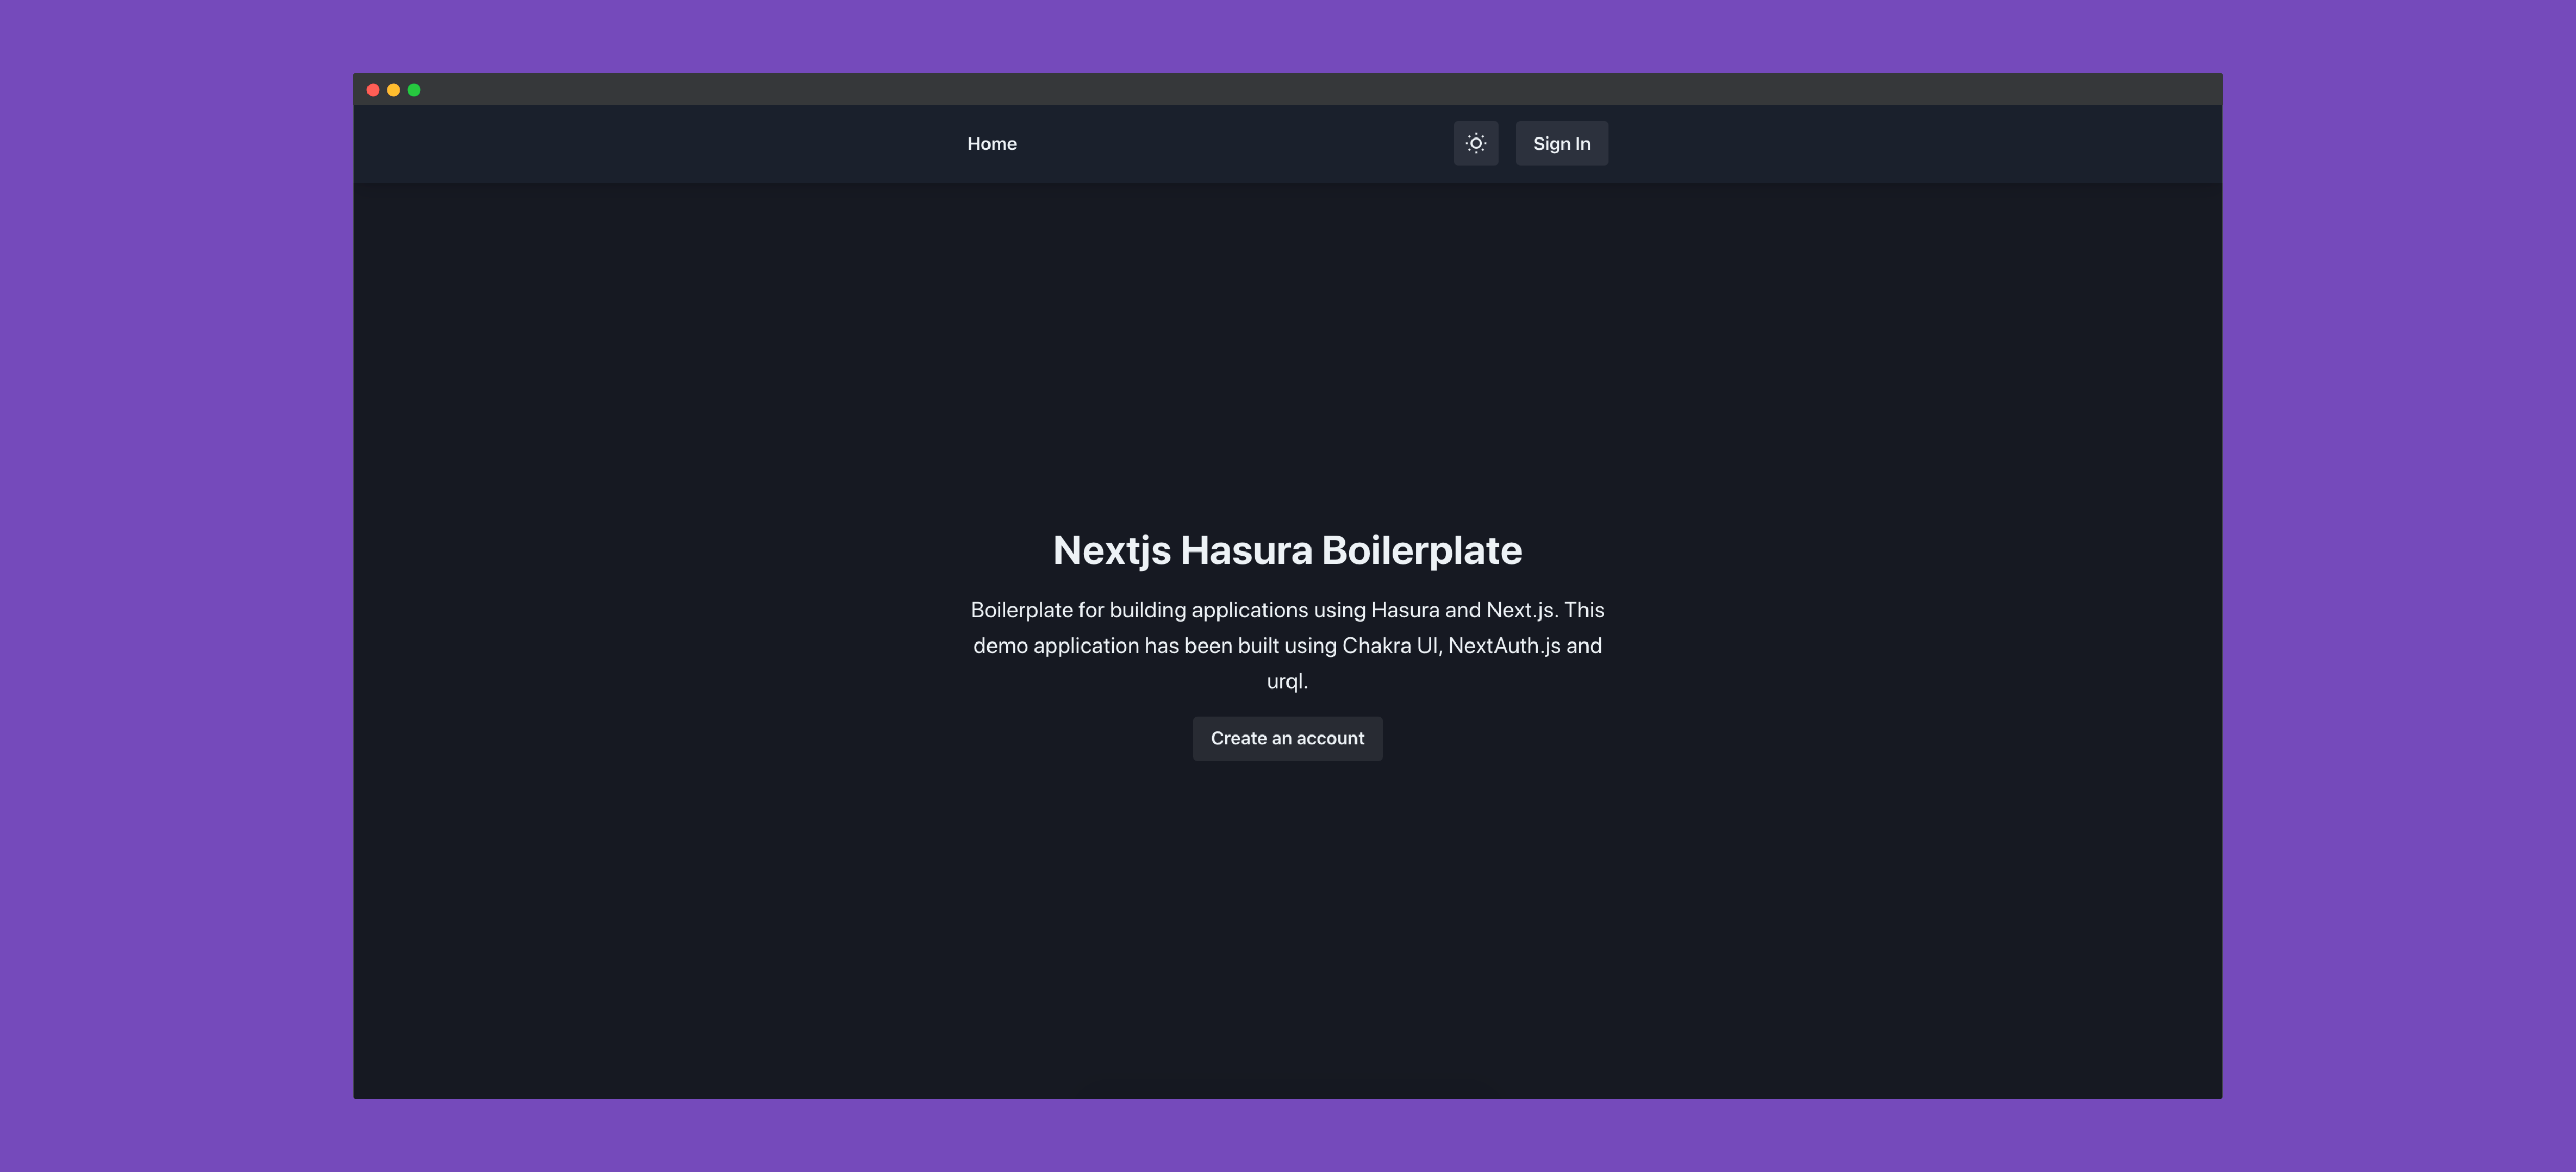
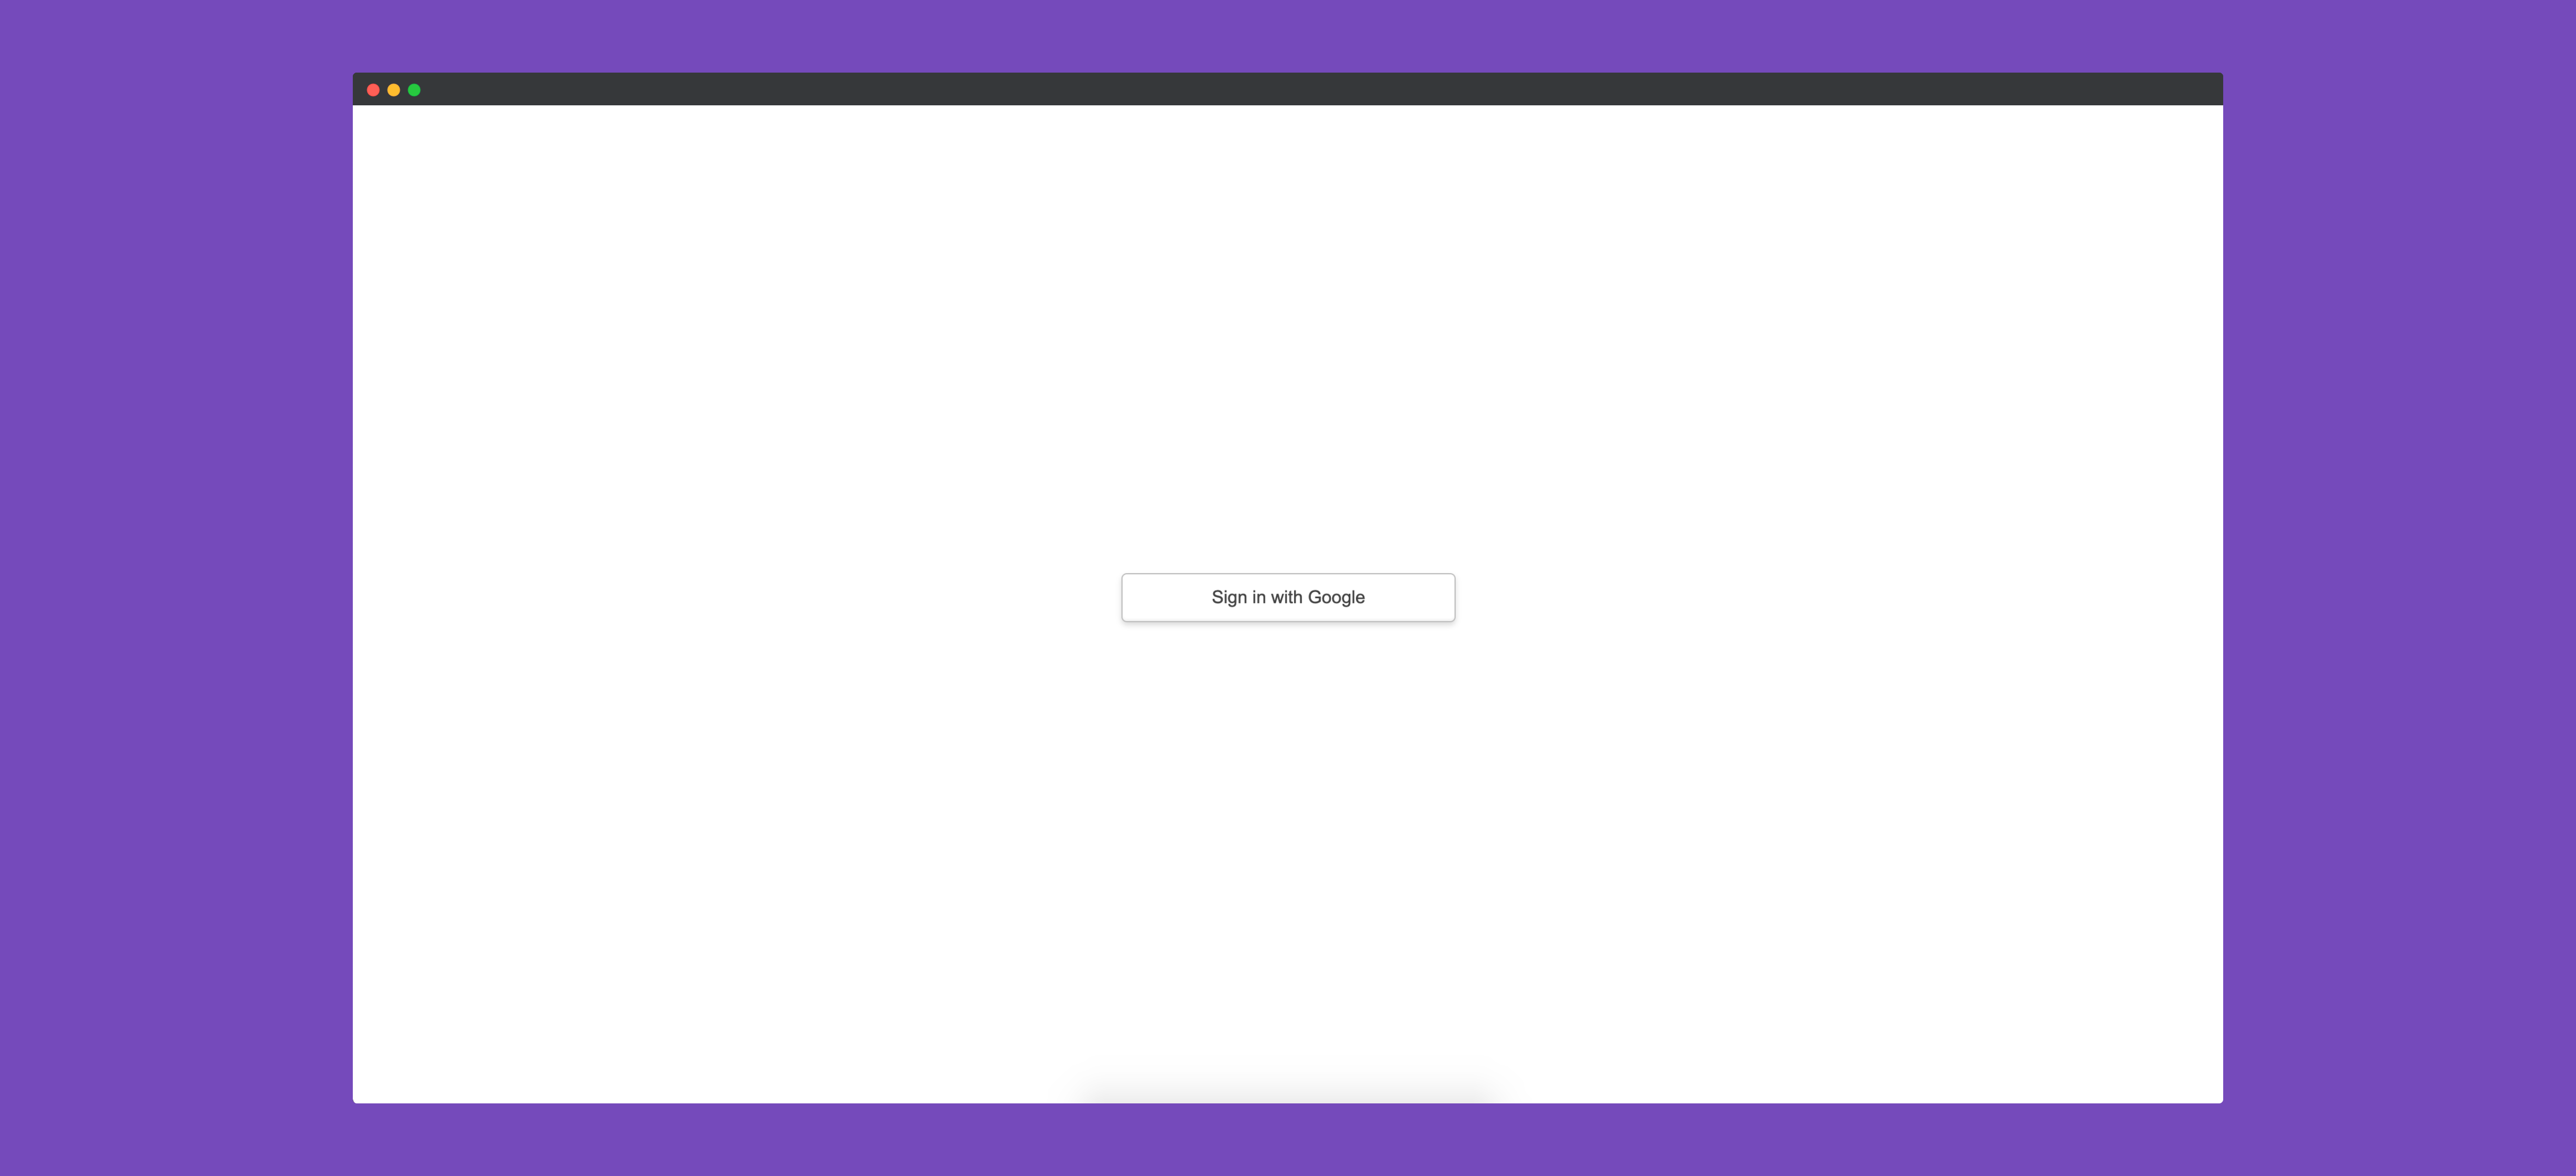
To create a new user, we’ll have to Sign Up using Google. NextAuth is being used to help us in authentication.
- Backend: Dockerized Hasura application
Hasura is an open source engine that connects to our databases & micro-services and auto-generates a production-ready GraphQL backend. It’s very easy to get Hasura up and running on our local system. All the migrations are set up in the migrations directory.
Installation
- Clone the application
git clone https://github.com/ghoshnirmalya/nextjs-hasura-boilerplate
- Install necessary dependencies for the frontend application
cd frontend && yarn install
Create a .env file and copy the contents from .env.example (present in frontend directory)
Generate the RSA keys
openssl genrsa -out private.pem 2048
openssl rsa -in private.pem -pubout > public.pem
- Print the keys in the escaped format
awk -v ORS='\\n' '1' private.pem
- Copy the value of the key into the
AUTH_PRIVATE_KEYkey (in the .env file)
The AUTH_PRIVATE_KEY should look like the following:
AUTH_PRIVATE_KEY='{"type":"RS256", "key": "-----BEGIN RSA PRIVATE KEY-----\nMIIEowIBAAKCAQEA0U3NR0eyMehHBlx6DK5sJ+Pys9dTWf558kpKVeQvL2oIZEY3\nLvS3/jdrIm/dU4WrIGPki1r/AWXQAyBZ2FKnZROcUWN0IqdmxrC5zTDymuscqhKX\nqxjSwrwOVWHc+zWWmXCQGmDdoCokXd9ZW66nA0BN66MdMC2+d5GrZdKUF305dpzT\nUdzDE12/XwOEUalCM0703eGu8zFwutLYc3+vf2CFOQ1z+rvDQD4N2aZABKTxZRtE\nkMHljnoyKlF9rljNzT/5N8YQE7qn4pBh6CMa1zcSilk9nhgl55n/Kjn2xMieWdIa\nlaOEKw1LqqIjiT1ESkAKfPaIoSSnmTaYy78gbwIDAQABAoIBAF+3t+AYLqraMdj7\n46j2/2lCupR6LZkjYntmdBZRky6YzBunbMchjR9KEsmd5Na0c20NodAFHkdyWy2C\n1vOx4PG9hShHVi4e5kaJPX9UGi60xNgWRpwtbv01aUysw5VyjVvAeXZGxDPh8d2o\nLcJa3fADsV7IqqmE0ez2hi67nZQbkbEUbKs7aGfCE6srCfjCfOadfNnto9+7qDjJ\nnd4rK18H1rBSLTqj4T7wd1K8THgo25vjEuVRbGsEVrNB/B1Dz0pdOqhqukzixfcS\nVL/7uYDXehLasmUQu2VtMFsLqDpAbQgvpoNnzeZuB0WARvygSi/n4t+pCi84hXXe\na1m/01kCgYEA6+i5FwJAPxe2oCc0iignHjA20itTalyUhgJrLa8tTs721GJ3ku0A\n/EJVgmoNOLCQnZMldWvEDGmf6QuaWitq8ZWK/0BmHrEjbDA7m1fPdf3hrNx6eH/i\nazxjAoWA/u0yZg6QvUC7hSOO6WEpFYGuc2+/mHlnm5RLdL3QNIlHyyUCgYEA4yEI\n2deZ9MgmxbnFc76u7VhT1lc1MHpuAcDR3hqKT9xH2fTBaTDpVqeFbQJR5Hu+ZqgT\nL3+zV5kzIz3RaNMGN1IaxDEEx+tDnL9aw8sqawauWZtp7W2EeFvtP8uhHiBWpqVl\nvus6Gpl6hpNg6X96vHRcW+mB13I/h5YWA25EEwMCgYA5YbkrvJNuBVGZsQ+Zj1y8\nfhPHmVxH4c8KranuSc7mfXcSgAT/ywBTW7s65prisCfs/C6/WgAs2MBZykW4Kxlv\nO+W8Yqi0THgGR9En3vsKgz+ScWqkxs6HMQAQS/LtjzqUEnToY8d5AgYwBD8fCRUq\n5QKgjt9Bu5eDBOyQ6td4tQKBgBtDrOdRfTaoDBdyHGSvgBoXn0C8iTL/j1MAjXDG\n6NF7VNiyC8GP0ILJazfRrnjp7cou5Nav0pxyVHQniIq3wihD39irNbK16BDZ25Bj\nQ/1C+Qzing2VNvCnwEwHKpkOMrigZB1N6VSmFdIvwNNmrRoQMcIKvr5ZBY1GE/Bn\nfR53AoGBAIXaWIoDW5d9XwFa8HdxkgMPyLlizckZKyXASYEGWD2VU8P1NwA/bZ1t\nymioQPRJymTBfUL6E44Ebwx25DezjYEun1yqouZ+WZBlsEYtssffzTs2IocZ6aCN\nYfzt3orUEI/rWbRSqYFEuOntzzf3a7r3MtDU41e7iXcNkRSxCAIV\n-----END RSA PRIVATE KEY-----\n"}'
- Create and copy the Google client credentials
Create a new Google OAuth Client and copy the credentials (Client ID and Client Secret) in your .env file.
- Start the frontend application
From the frontend directory, we can run the following command to start our Next.js frontend application:
yarn dev
The above command will start the frontend application on http://localhost:3000/.
- Go inside the directory of the backend package on another terminal window
cd packages/backend
- Add the necessary environment keys (in the docker-compose.yml file)
awk -v ORS='\\n' '1' public.pem
The HASURA_GRAPHQL_JWT_SECRET should look like the following (in your docker-compose.yml file):
HASURA_GRAPHQL_JWT_SECRET='{"type":"RS256", "key": "-----BEGIN PUBLIC KEY-----\nMIIBIjANBgkqhkiG9w0BAQEFAAOCAQ8AMIIBCgKCAQEA0U3NR0eyMehHBlx6DK5s\nJ+Pys9dTWf558kpKVeQvL2oIZEY3LvS3/jdrIm/dU4WrIGPki1r/AWXQAyBZ2FKn\nZROcUWN0IqdmxrC5zTDymuscqhKXqxjSwrwOVWHc+zWWmXCQGmDdoCokXd9ZW66n\nA0BN66MdMC2+d5GrZdKUF305dpzTUdzDE12/XwOEUalCM0703eGu8zFwutLYc3+v\nf2CFOQ1z+rvDQD4N2aZABKTxZRtEkMHljnoyKlF9rljNzT/5N8YQE7qn4pBh6CMa\n1zcSilk9nhgl55n/Kjn2xMieWdIalaOEKw1LqqIjiT1ESkAKfPaIoSSnmTaYy78g\nbwIDAQAB\n-----END PUBLIC KEY-----\n"}'
Also, the HASURA_GRAPHQL_ADMIN_SECRET value needs to be updated in the docker-compose.yml file:
HASURA_GRAPHQL_ADMIN_SECRET: secret
- Start docker-compose
docker-compose up
We need to start Docker and then run the above command which will change the current directory to the backend package’s directory and then start the backend package. If everything goes well, it’ll be up and running on http://localhost:8080/v1/graphql.
Deployment
- Frontend
Click on the button below to deploy the frontend application on Vercel. You'll need to sign up for a free Vercel account.
- Backend
Click on the button below to deploy the backend application on Heroku. You'll need to sign up for a free Heroku account.

Other interesting repositories
License
This project is licensed under the MIT License.